Honestly, in my early ski years, I made plenty of mistakes too — dressing too bulky so I couldn’t move well, or dressing stylishly but freezing the moment I got on the chairlift. As my skiing level and intensity increased, I realized that the key to ski outfits isn’t stacking gear, but choosing the right combination based on snow conditions and your goals for the day — balancing mobility, temperature control, safety, and energy consumption. Every outfit here is something I’ve worn repeatedly in different conditions and intensities, and adjusted over time. Hopefully, this gives you more useful guidance than just “what looks good.”
🎿 Look 1: Hard Shell Jacket + Insulated Midlayer + Supportive Ski Pants
This is the combo I wear most often throughout the entire season. Anytime I plan to ski from morning until afternoon, especially on hard-packed snow or windy days, this is my go-to. Compared to casual-cut ski wear, race-inspired designs offer much more structured support at the shoulders, waist, and knees. When squatting, carving, or doing continuous edge pressure, the clothing doesn’t pull against my body, so I can confidently stay low and complete full movements instead of subconsciously limiting my range of motion. This makes a noticeable difference for knee and lower-back protection.
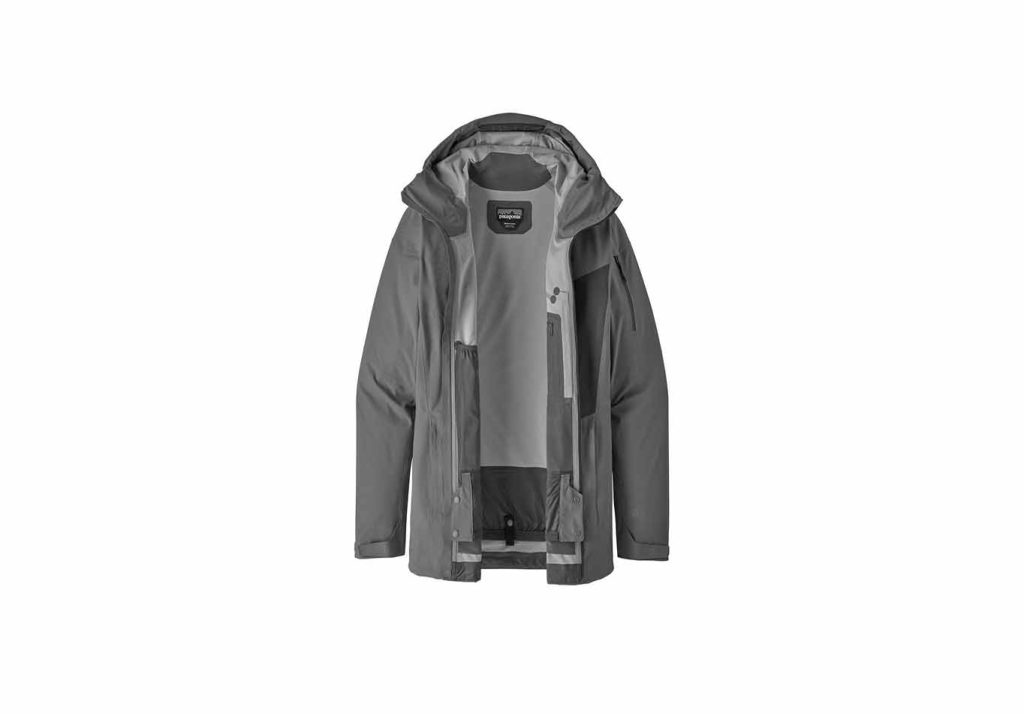
For outer layers, I usually wear the Arc’teryx Alpha SV or Beta AR GORE-TEX hard shell jackets. They feel structured but block wind extremely well at high speed or on chairlifts. Even when I fall in powder, they don’t get soaked quickly.
For pants, I pair them with Peak Performance Vertical Pro ski pants or Salomon S/Lab QST ski pants. The articulated knee panels allow long hours of bent-knee skiing without pressure on the joints.
For midlayers, I adjust based on temperature.
Below -10°C, I add a Patagonia Nano Puff lightweight down jacket.
Around -5°C, I prefer Helly Hansen LifaLoft fleece insulation layers.
These midlayers keep me warm without trapping sweat, so even after repeated runs, my back never feels cold and damp. My body temperature stays stable instead of cycling between freezing, overheating, and freezing again.
With this setup, I feel much less overall fatigue. When I used to wear less flexible gear, my legs would feel heavy and my lower back tight by afternoon. Now even at closing time, the fatigue feels more like normal muscle soreness rather than joint strain, and recovery the next day is much faster — which is crucial since I often ski two or even three days in a row.
✔ Color & Styling Tips
- Light jacket + dark pants : A white Arc’teryx Alpha SV with black Peak Performance pants creates strong contrast on snow and makes body lines look sharper in photos.
- Monochrome gradient : Mist blue jacket with deep navy pants, like Salomon S/Lab QST blue outerwear with dark blue pants — very professional and great for close-up shots.
- Neutral base + bright accessories : Black/white/gray outfit with orange Oakley Flight Deck lenses or neon Hestra gloves adds highlights and improves visibility on slopes.
- Cream or light khaki for resort vibes: Peak Performance off-white jacket with Salomon light khaki pants looks relaxed and perfect for café or viewpoint photos.
✔ Small Technique Tips
With professional hard shells, I recommend committing more to forward pressure and using knees and hips fully in turns instead of steering mainly with the upper body. It saves energy and reduces knee impact. When I heat up, I open pit zips instead of unzipping the front, letting body temperature drop gradually and avoiding chills during long sessions.
For me, the biggest value of this outfit isn’t looking professional — it’s skiing more stably, safely, and having enough energy to truly enjoy a full day on the slopes.
🧣 Look 2: Wool Base Layer + Stretch Fleece Midlayer + Softshell Jacket
This is what I wear when practicing basic techniques, skiing casually with friends, or on warmer days. Compared to hard shells, this setup is lighter and more form-fitting, almost like wearing upgraded sportswear — I barely notice the clothes while skiing, which helps me relax and move more naturally.
For base layers, I usually choose Icebreaker merino wool. It’s extremely soft, never itchy, and dries fast, so even after a full morning, my back never feels sticky.
Midlayers are usually Patagonia R1 or Helly Hansen Lifa stretch fleece, which remain flexible when bending, rotating, or getting up after falls — no pulling at all.
For outer layers, I prefer Patagonia SnowDrifter Softshell or Helly Hansen Odin Softshell jackets. Wind protection is sufficient, but breathability is far better than hard shells, making them perfect for long technical practice sessions on green and blue runs where intensity isn’t extreme but duration is long.
By the end of the day, I always feel physically relaxed. In heavier gear, I used to get chilled after sweating. With this combo, I stay dry and comfortable, and my legs feel freer — perfect for repetitive technique drills.
✔ Color & Styling Tips
- Bright inner layers + neutral jackets: Orange or burgundy merino base layers under gray or black shells look great when unzipped and add visual depth.
- Light jackets + dark pants: Creates a very clean silhouette, especially flattering on sunny days.
- Monochrome outfits look more technical: Blue-gray fleece with a matching outer shell gives strong professional vibes.
- Cream and muted tones for vacation resorts: Softer colors feel more relaxed and are great for café and resort photos.
✔ Small Technique Tips
With softshell and fleece, I slow down and focus on rhythm and weight transfer instead of speed. High mobility makes body feedback clearer, perfect for refining turns. When warming up, I adjust midlayer zippers before removing outer layers to avoid sudden temperature drops.
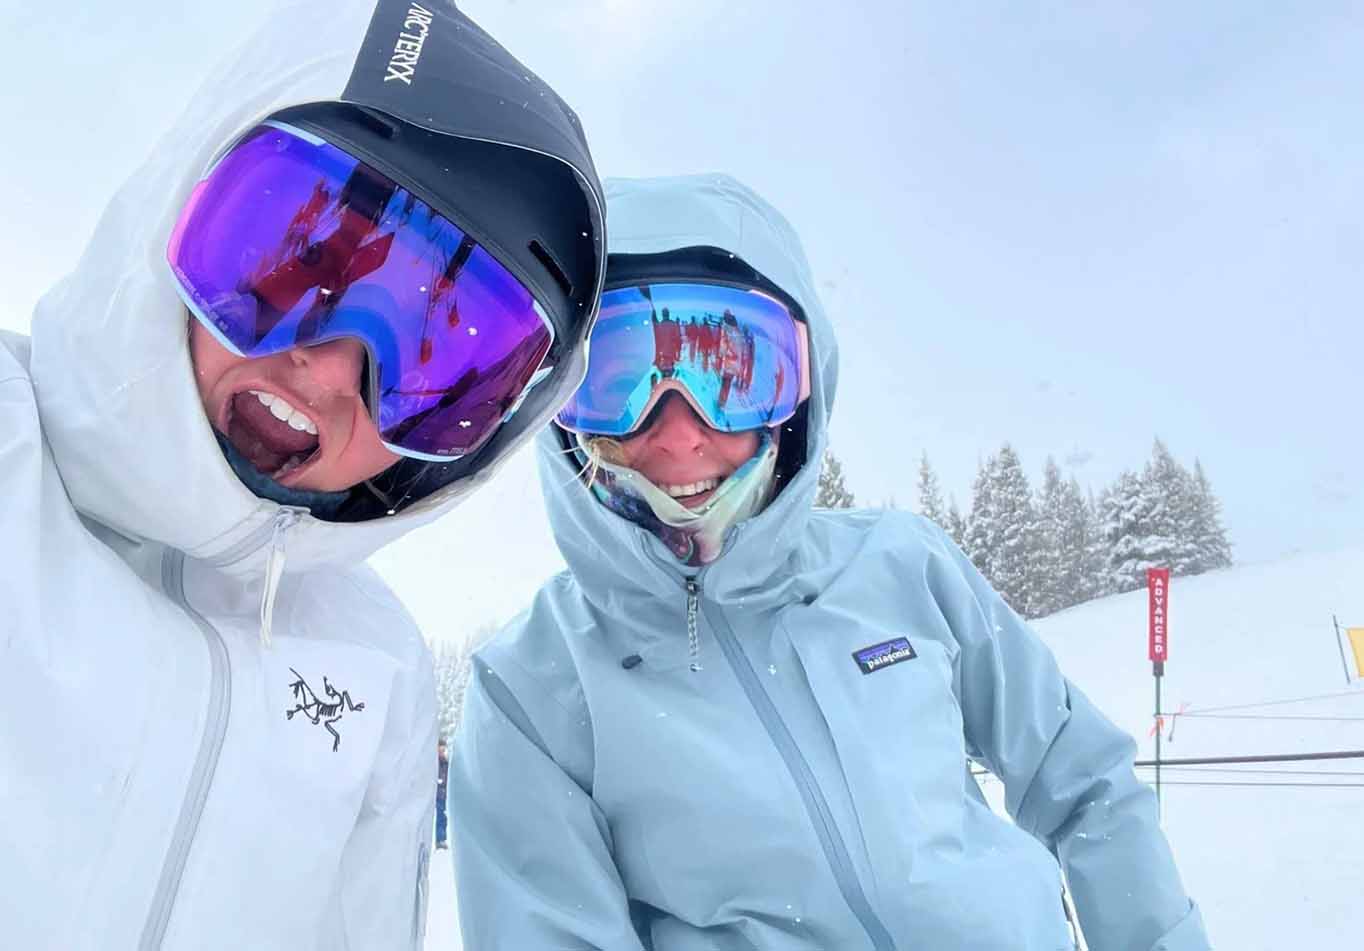
🧤 Look 3: Heated Gloves + High-Neck Face Mask
If clothing controls body temperature, hand warmth directly determines how long I can ski. I used to slow down or stop early because of numb fingers. Now I almost always bring heated gloves to cold resorts.
I mainly rotate between Therm-ic Heated Gloves and Hestra Heated Series. They focus heating on fingertips and the back of the hand while keeping palms thin, so gripping poles and catching falls feel natural. Even without heating on, insulation is excellent.
Paired with Buff merino face masks or Black Diamond windproof balaclavas, cold air barely reaches my neck and chin. They fit snugly without affecting breathing or fogging goggles.
Since using this combo, my biggest change is reduced anxiety while skiing. Warm, flexible fingers mean better pole control, more confident turns, smoother rhythm, and fewer falls.
✔ Color & Styling Tips
- Dark gloves are the most versatile and stain-resistant
- Match mask color with goggle lenses for visual harmony
- Bright gloves can highlight neutral outfits and improve visibility
- Full neutral palettes look very professional
✔ Small Technique Tips
I turn on heating before hands feel cold, not after. On chairlifts, I rest hands on my thighs instead of letting them hang in the wind — both help maintain circulation.
🥽 Look 4: Wide-View Goggles + Integrated Helmet
In poor light or tree runs, visibility directly affects speed control and turn timing. I usually wear Oakley Flight Deck goggles with POC Obex MIPS or Smith Level MIPS helmets. Integrated fit prevents wind from entering the forehead and reduces fogging.
I choose Oakley Prizm or Smith ChromaPop lenses. On flat light or icy snow, terrain changes are far easier to read, allowing earlier weight adjustment and smoother turns.
Better vision doesn’t just mean seeing clearer — it significantly reduces mental stress and increases confidence to commit to edges.
✔ Color & Styling Tips
- Rose or orange lenses work best across lighting conditions
- Neutral helmets match any outfit
- Match goggle frames with gloves or straps for coherence
- Cream helmets look soft and great in resort photos
✔ Small Technique Tips
Lift goggles during chairlift rides for ventilation, and never wipe inside lenses with gloves — it destroys anti-fog coatings.
🧦 Look 5: Compression Ski Socks + Support Knee Braces

I underestimated socks and knee support at first, but after skiing multiple days in a row, I realized how much calf fatigue and knee stress affect recovery.
I wear CEP Ski Ultralight Compression Socks or Stance Performance Ski Socks. Zoned compression reduces calf soreness during long bent-knee skiing, without affecting boot fit.
For knee support, I use Decathlon lightweight braces for casual days and CEP or Bauerfeind stabilizing braces for park or off-piste. They reduce repeated impact strain, even if not full protective gear.
Since using both, leg heaviness the next morning is much lower, making multi-day trips far easier.
✔ Color & Styling Tips
- Bright socks can add subtle color highlights
- Skin-tone or black knee braces stay invisible under pants
- Patterned socks suit street-style outfits
- Solid colors feel more professional
✔ Small Technique Tips
Use hips more than knees to initiate turns, distributing pressure across the whole lower body and reducing knee strain.
🧥 Look 6: Urban-Style Ski Jacket + Loose-Fit Ski Pants
This is my favorite for resort-style trips with lots of photos and café stops. Softer fabrics and relaxed silhouettes feel more lifestyle-oriented.
I often wear Montec Dune jackets + Dope Snow loose-fit pants, or Burton Covert jackets + Cargo pants. Waterproofing is enough for casual skiing, and comfort is excellent.
I ski slower and enjoy the scenery more in this outfit. Draping and flow look great in photos, giving relaxed vacation vibes.
✔ Color & Styling Tips
- Cream and mist blue work beautifully with snow
- Color-blocking adds street-style flair
- Beanies and retro goggles enhance lifestyle look
- Black backpacks and poles keep focus on outfit
✔ Small Technique Tips
Avoid aggressive carving or high-speed edge pressure. Smooth cruising matches both outfit durability and vibe.
Looking back at these outfit combinations, my biggest takeaway is this: deciding how you plan to ski that day before choosing what to wear is far more important than blindly chasing a certain brand or look. The right gear truly helps you ski more steadily, for longer, and with more confidence to challenge yourself. If you’re looking for the Western brands mentioned above, the shopping platforms I personally use most often are Backcountry, REI, Snowleader, Blue Tomato, and Bergfreunde, where you can systematically compare everything from professional race-oriented gear to resort-style casual ski wear, and there are often good discounts as well. I hope these outfit ideas help you avoid unnecessary trial and error and save your energy for truly enjoying the slopes—that’s what ski outfits mean the most to me.